

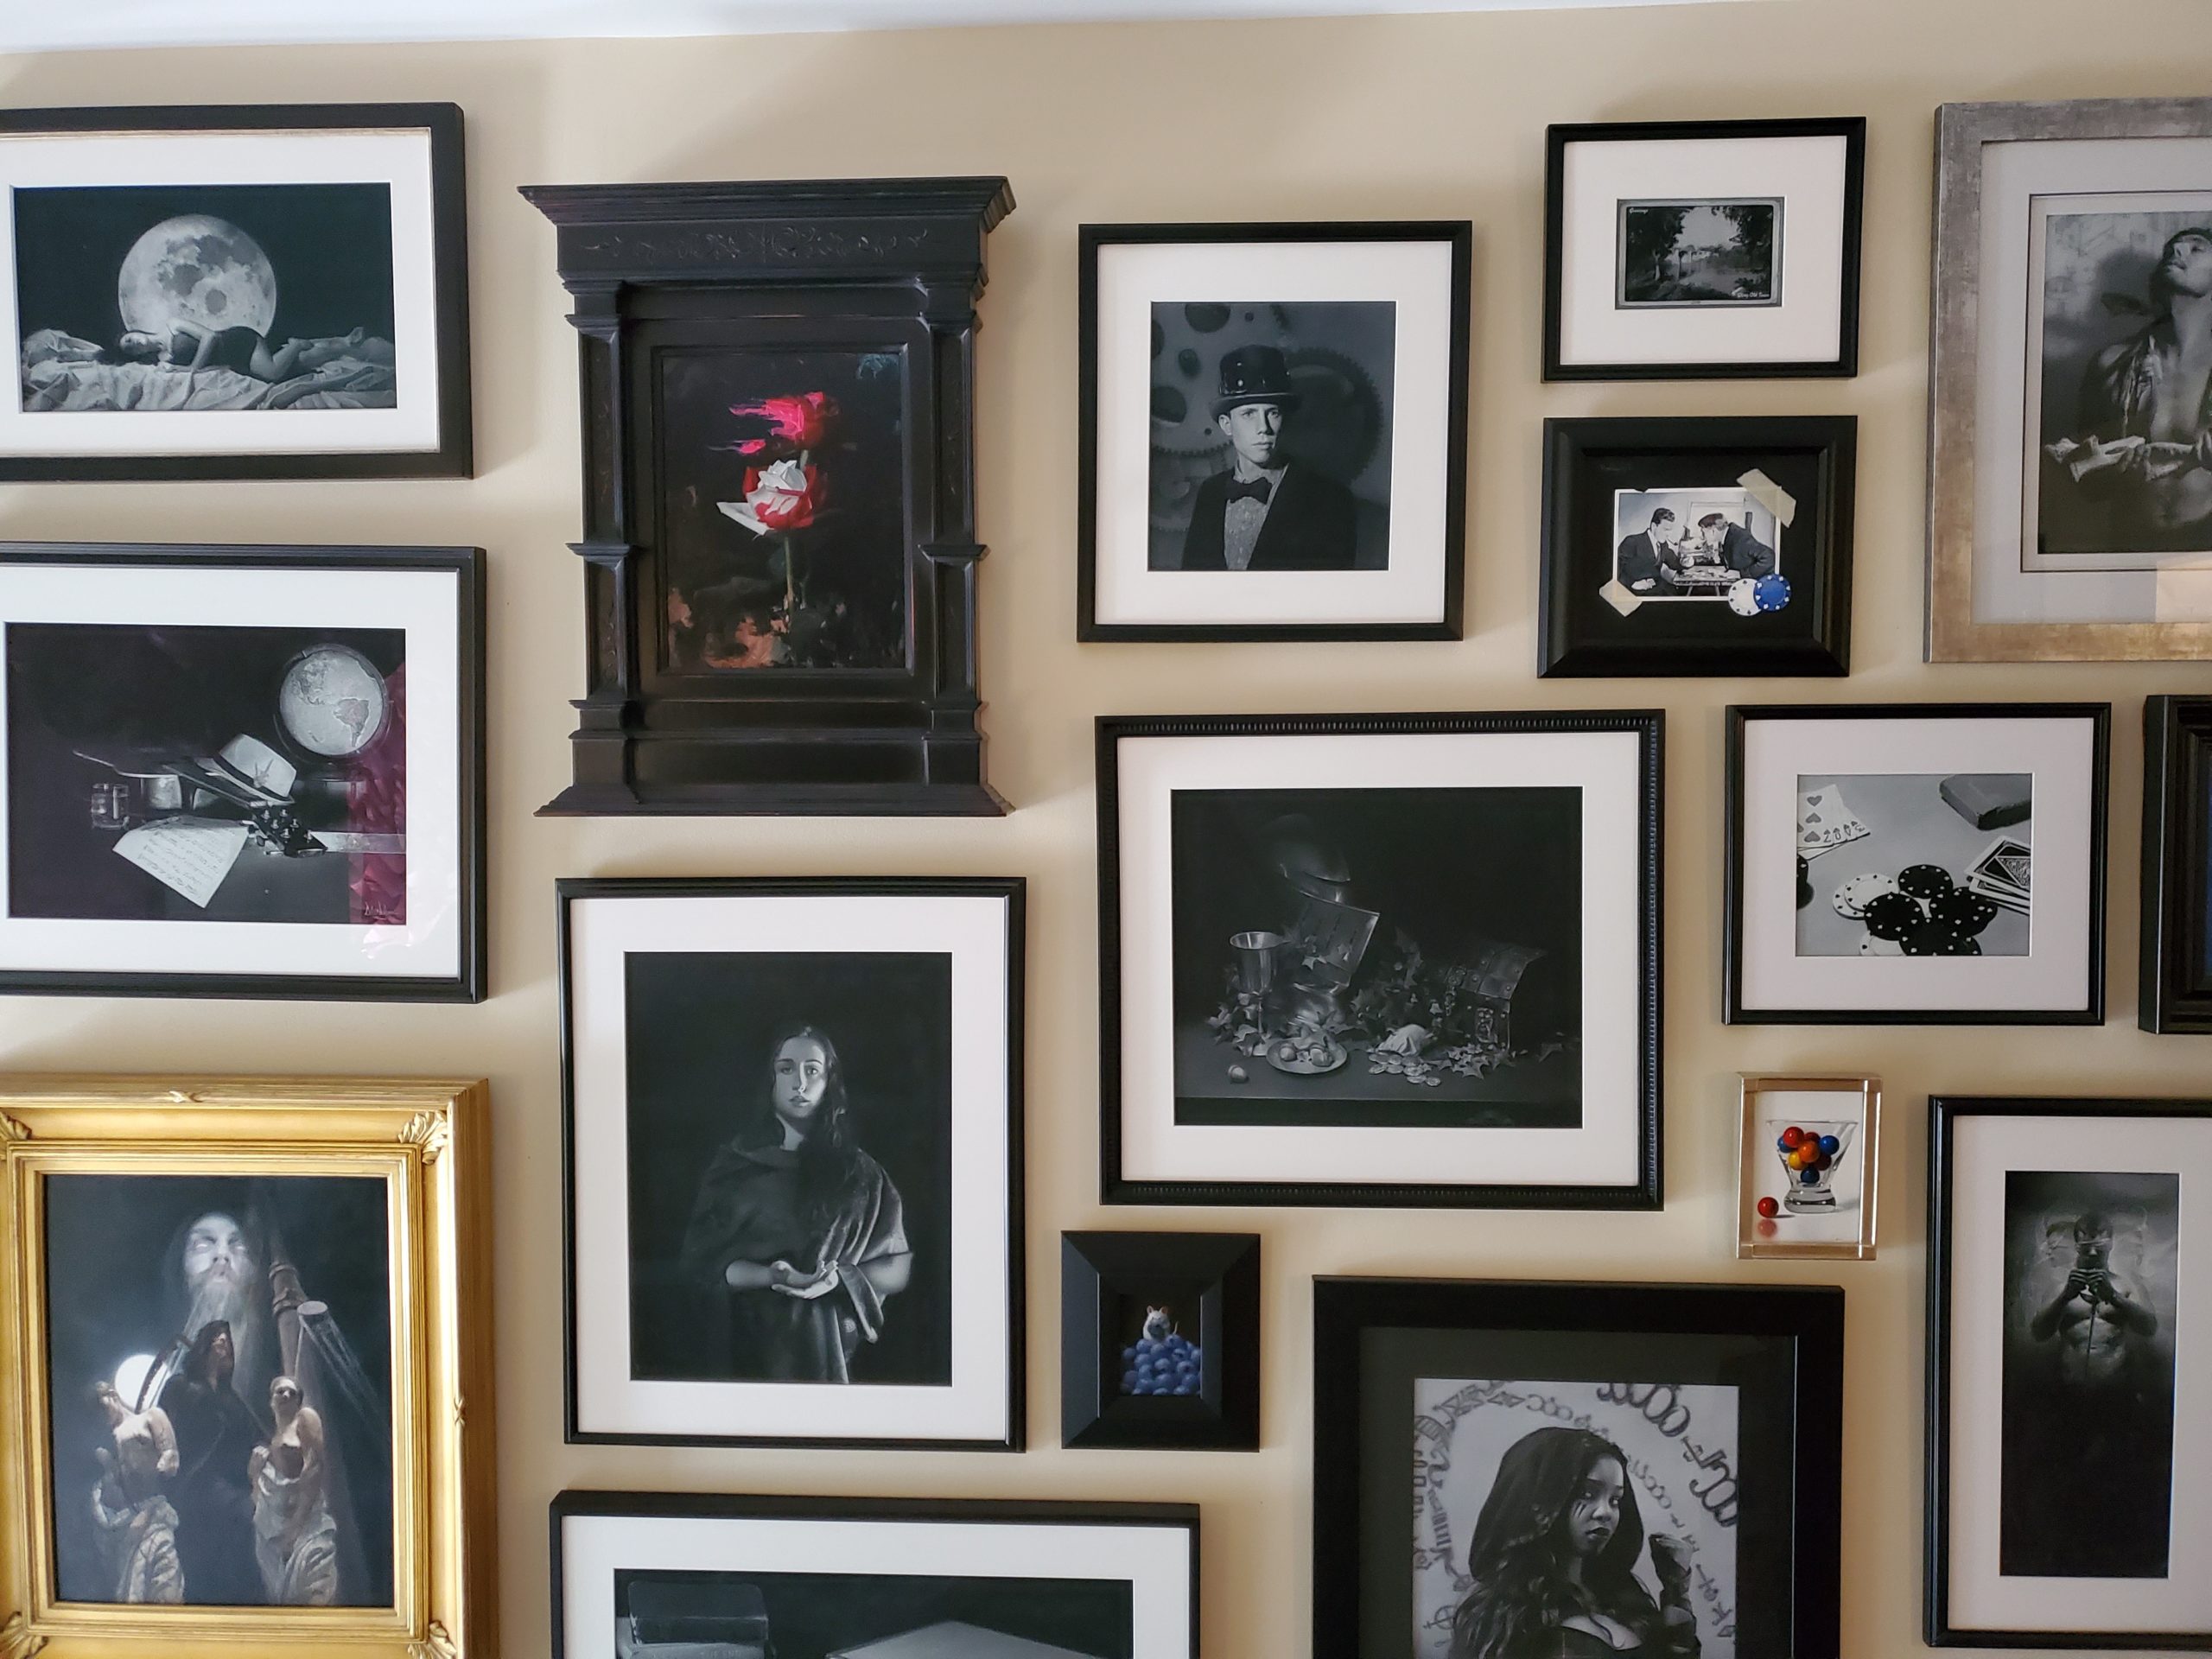
 Since many of us are quarantining these days (and some may be having a few too many quarantinis), many collectors have decided to add works to their collection, while others have been rearranging the works they already own … hopefully to make room for more!
I know that some people get a little nervous about moving or even hanging their artwork. Let me assure you, it is not too difficult, and one of the worst things that can happen is you will have a couple of extra nail holes in the wall. I will stress that before you grab that hammer and nails, just be sure you are sober!
To begin with, I would advise against taking a single nail, hammer it straight into the wall, and hang the work. More than likely, this will not be enough support, and one day you may hear a loud noise and find your work of art on the floor – something we want to avoid!
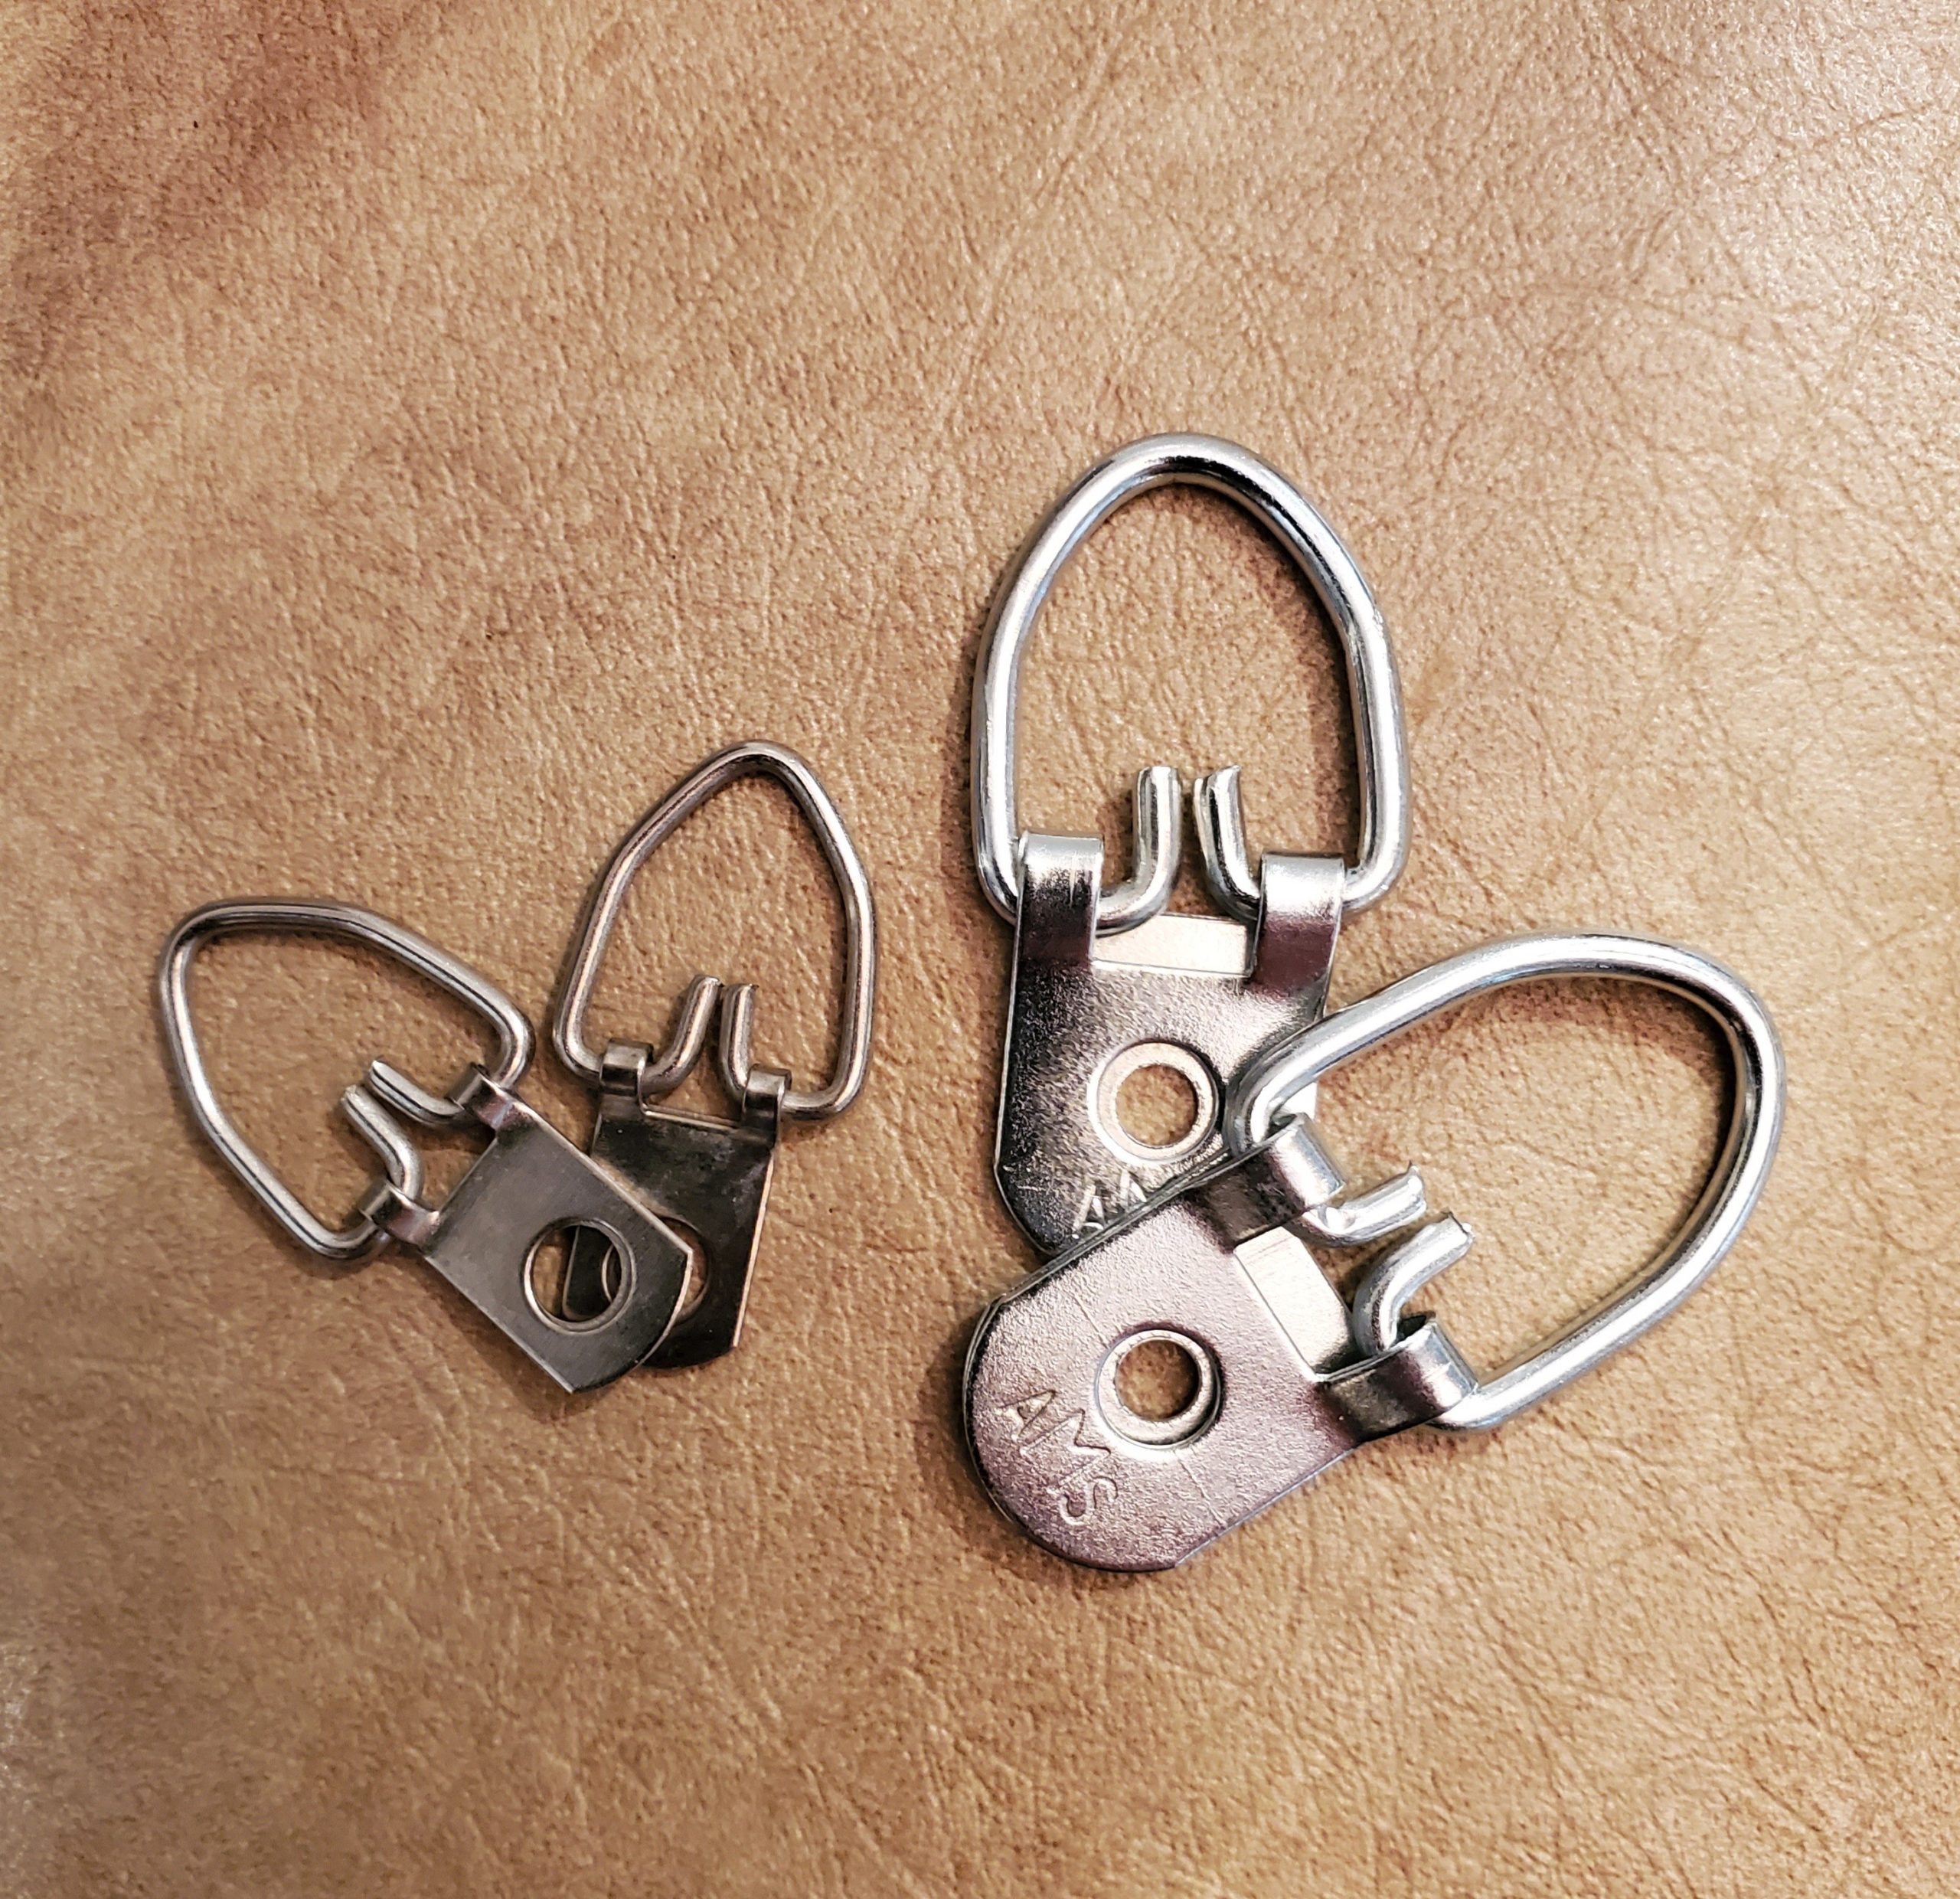
D-rings
Before you hang a painting, take a look at the back of the frame and see that a wire has been attached. If not, you will need to buy some D-Rings and wire that will support the weight of your work of art. If you are rehanging a work that has been in your possession for an extended period, please check the wire to make sure it is structurally sound and that the D-rings, or screw eyes, used to attach the wire to the frame are secure. If the wire is frayed or the D-rings/screw eyes are loose, be sure to replace them.
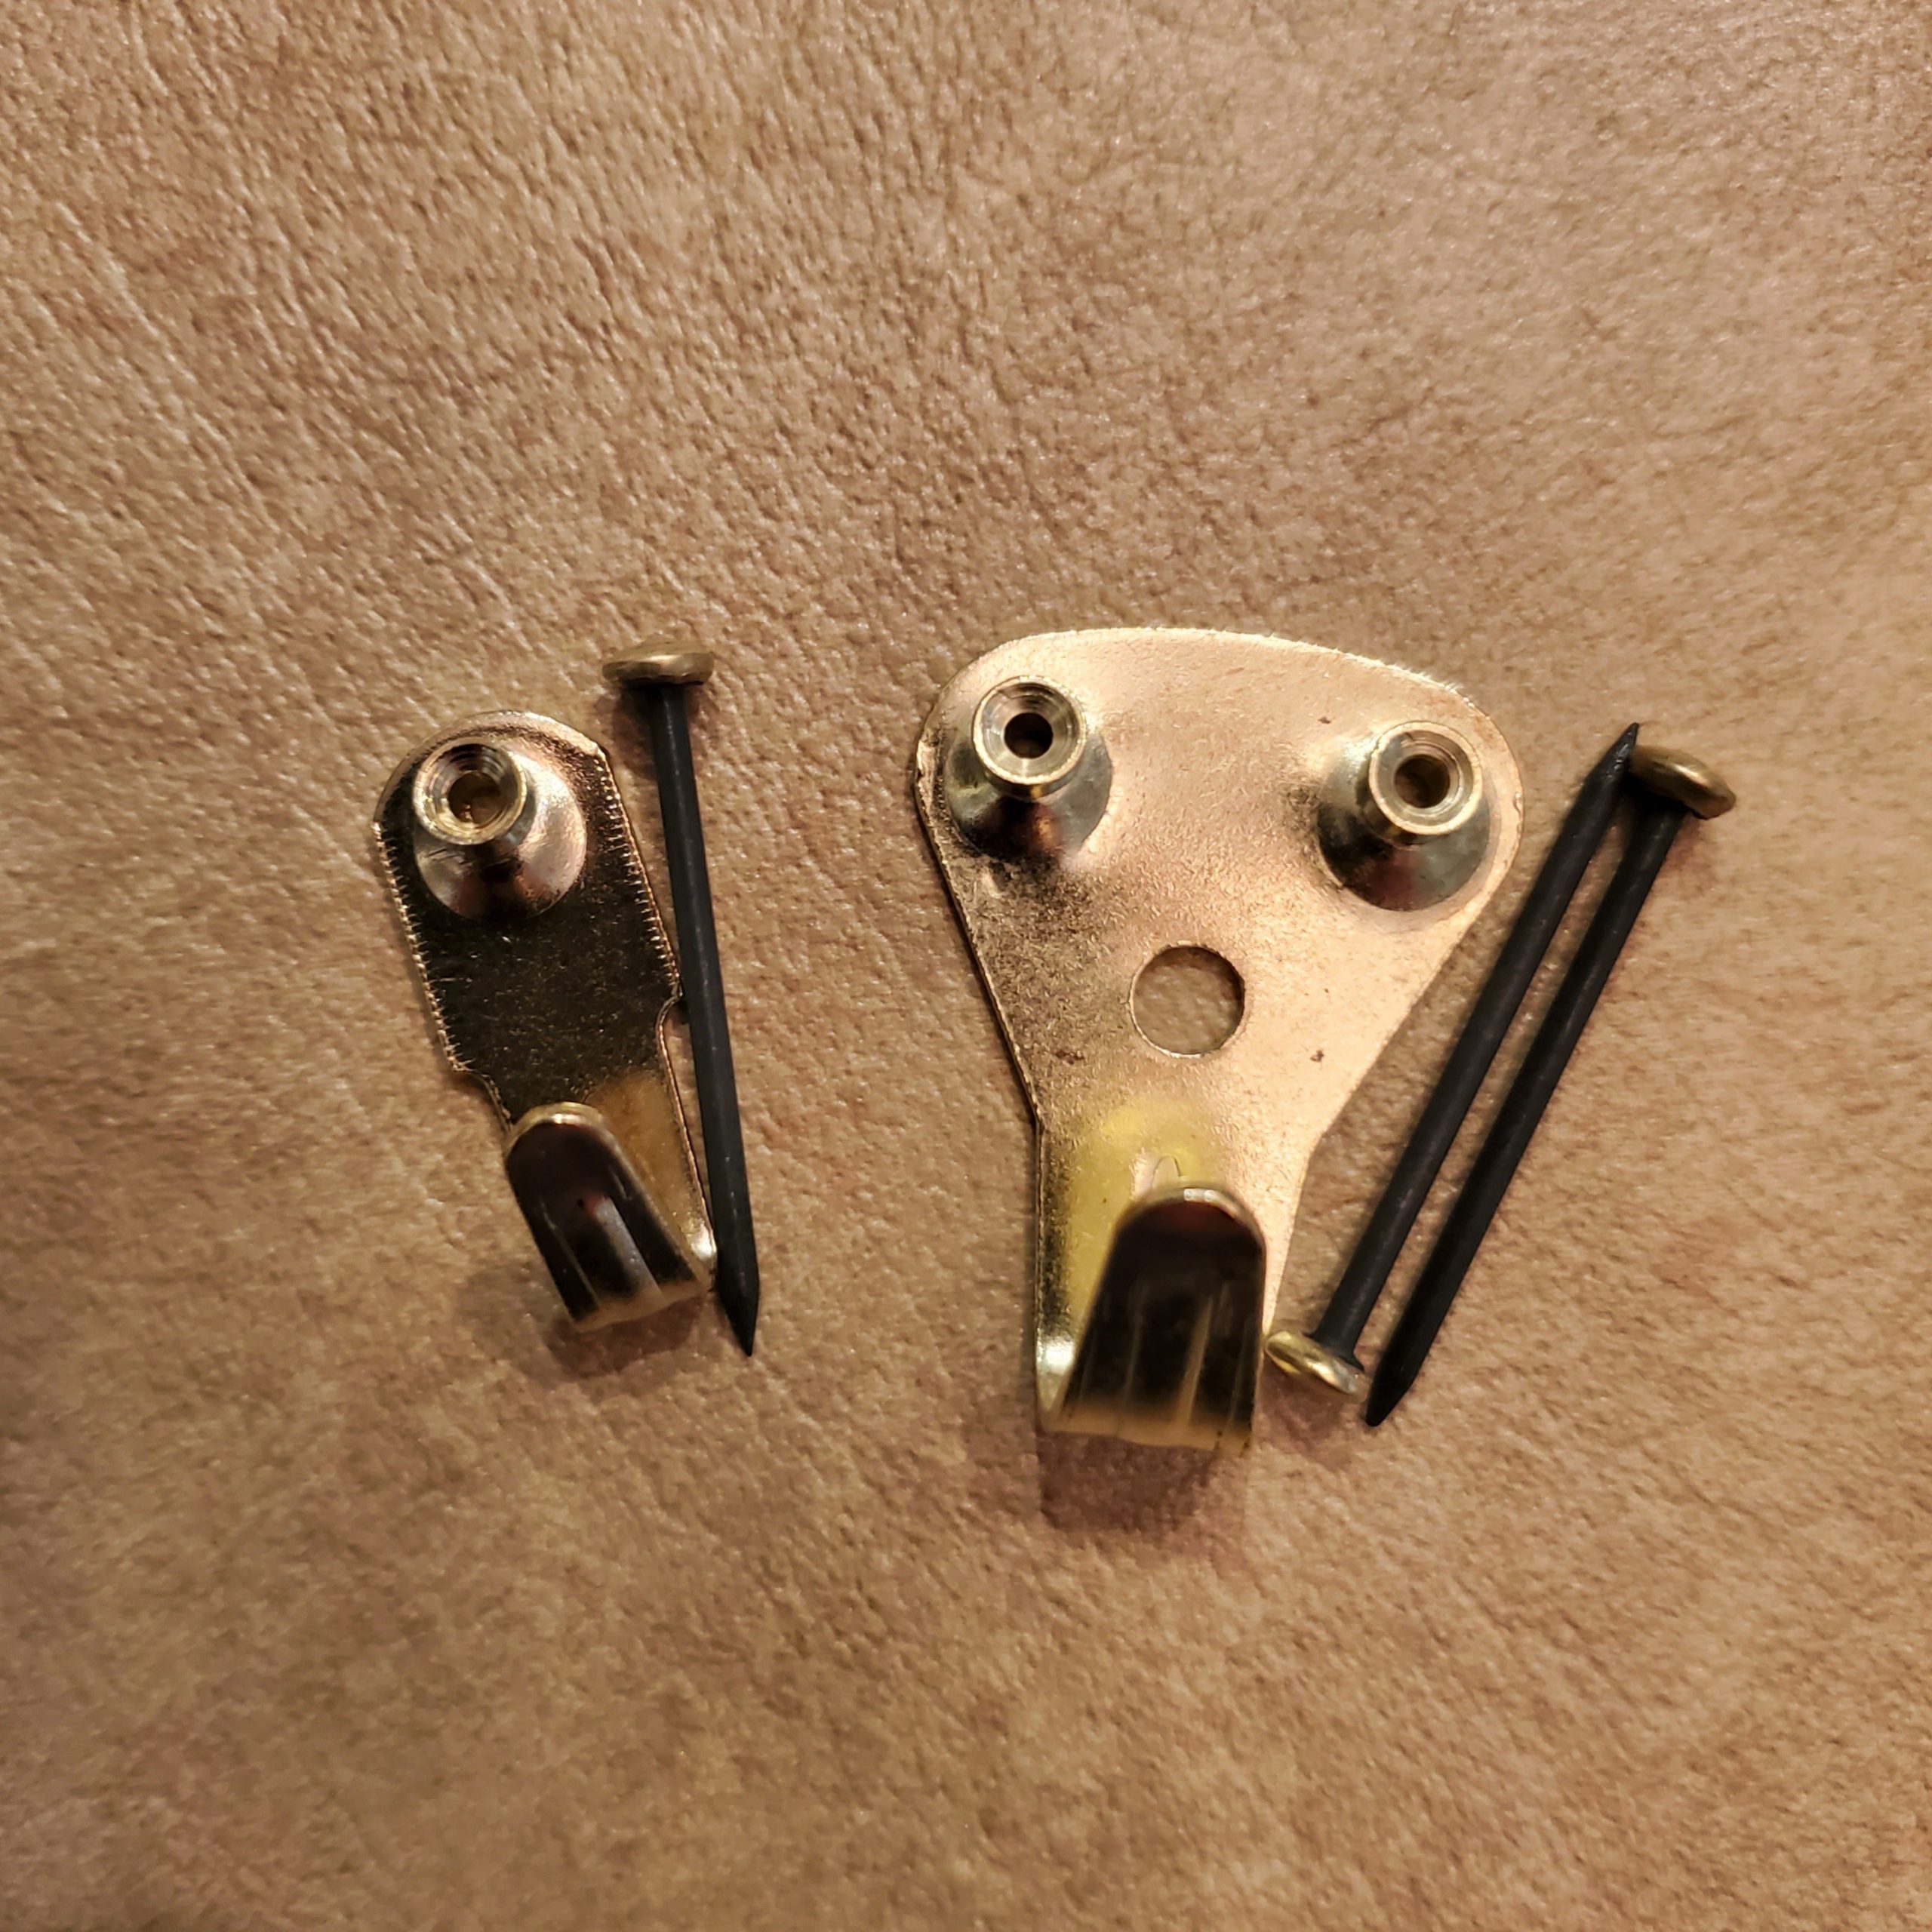
Picture hooks
Next, you will need a couple of picture hooks … which come in a variety of sizes (10lb, 20lb, 30lb, etc.). If you are rehanging a work, you can reuse the hooks in the wall, but please make sure the nails did not bend when you removed them; if so, they need to be replaced (your local hardware store should have a ready supply of picture hooks). It is also important to estimate the weight of your artwork, so you know the right size picture hooks to use. A simple way to do that is weigh yourself on a bathroom scale, and then weigh yourself again while holding the artwork – the difference is the weight of your painting. If you are not 100% sure of the weight, then I always recommended that people err on the side of caution, use picture hooks a size or two bigger than what you think you need – it cannot hurt.
Also, you need to know what types of walls are in your home – sheet-rock, concrete, plaster, wood, etc. and note if there are any special treatments on those walls – e.g., if you have padded fabric walls you may need to buy extra-long nails. If you have concrete or plaster walls, the process will be more complicated (drills, masonry bits, anchors, etc.), so unless you have experience drilling into concrete, I would recommend hiring a professional.
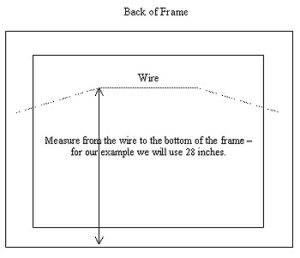
Assuming you have standard walls (sheet-rock, wood, etc.), the work is wired, and you have the proper size picture hooks, you can begin (you will also need a tape measure, pencil, and a small hammer – if you really want to be exact, have a level handy). For this example, I am using a painting with an overall size of 33 x 40 inches. Look at the back of the work and find the center of your wire. Next, measure 6 – 7 inches left and right of center (for smaller works, you will need to adjust this distance accordingly). These will be the spots where the wire rests on the picture hooks. Next, on the back of the work, measure from the bottom of the frame to one of those spots – for our example, we will use 28 inches (see the diagram below).
Next, measure from the floor up – taking into account the height of any furniture that may be below the work and the amount of space you want between the top of the furniture and the bottom of the frame. For this example, we will assume that the painting is going to hang over a sofa that is 36 inches high, and we want the bottom of the frame to be 9 inches above the sofa: 36 inches + 9 inches = 45 inches. Once you have that number, all you need to do is add the two measurements (45 inches + 28 inches = 73 inches), and you will have the height at which you place your picture hooks.

Finally, find the center of the wall/space on which you want to hang the work and measure 73 inches from the floor. Now place your picture hooks 6-7 inches from each side of this mark (you can use a level to be 100% sure that they two hooks are at the same height) and then hang your picture – it should be perfect!
While you can hang a work of art on 1 picture hook, and this is fine for very small pieces, you will find that if you use 2 picture hooks, spaced about 12 – 14 inches apart, the painting will remain level. As I mentioned earlier, if you plan on hanging a smaller work on two picture hooks, you will need to shorten the distance between them.
One question that does arise is – what if you are hanging work in a space where there is no furniture, what is the right height? When we hang works at a show, our go-to height is to have the center of the painting 62 inches from the floor. To calculate the proper height of the picture hooks, you can use the following (we will use the same overall height as before – 33 inches):
First: divide 33 in half = 16.5 inches
Second: then measure from one of the two spots on the wire to the top of the frame = 5 inches
Third: then subtract 5 from 16.5 = 11.5 inches
Fourth: add 11.5 to 62 = 73.5 inches, the height of your picture hooks.
I must confess that I rarely do all of this in my own home. After hanging so many pictures, for so many years, I just ‘eyeball it’ … and if I make a mistake, I pull the hooks out and try again!! Yes, I have a couple of extra holes behind some of our paintings – you know, trial and error.