

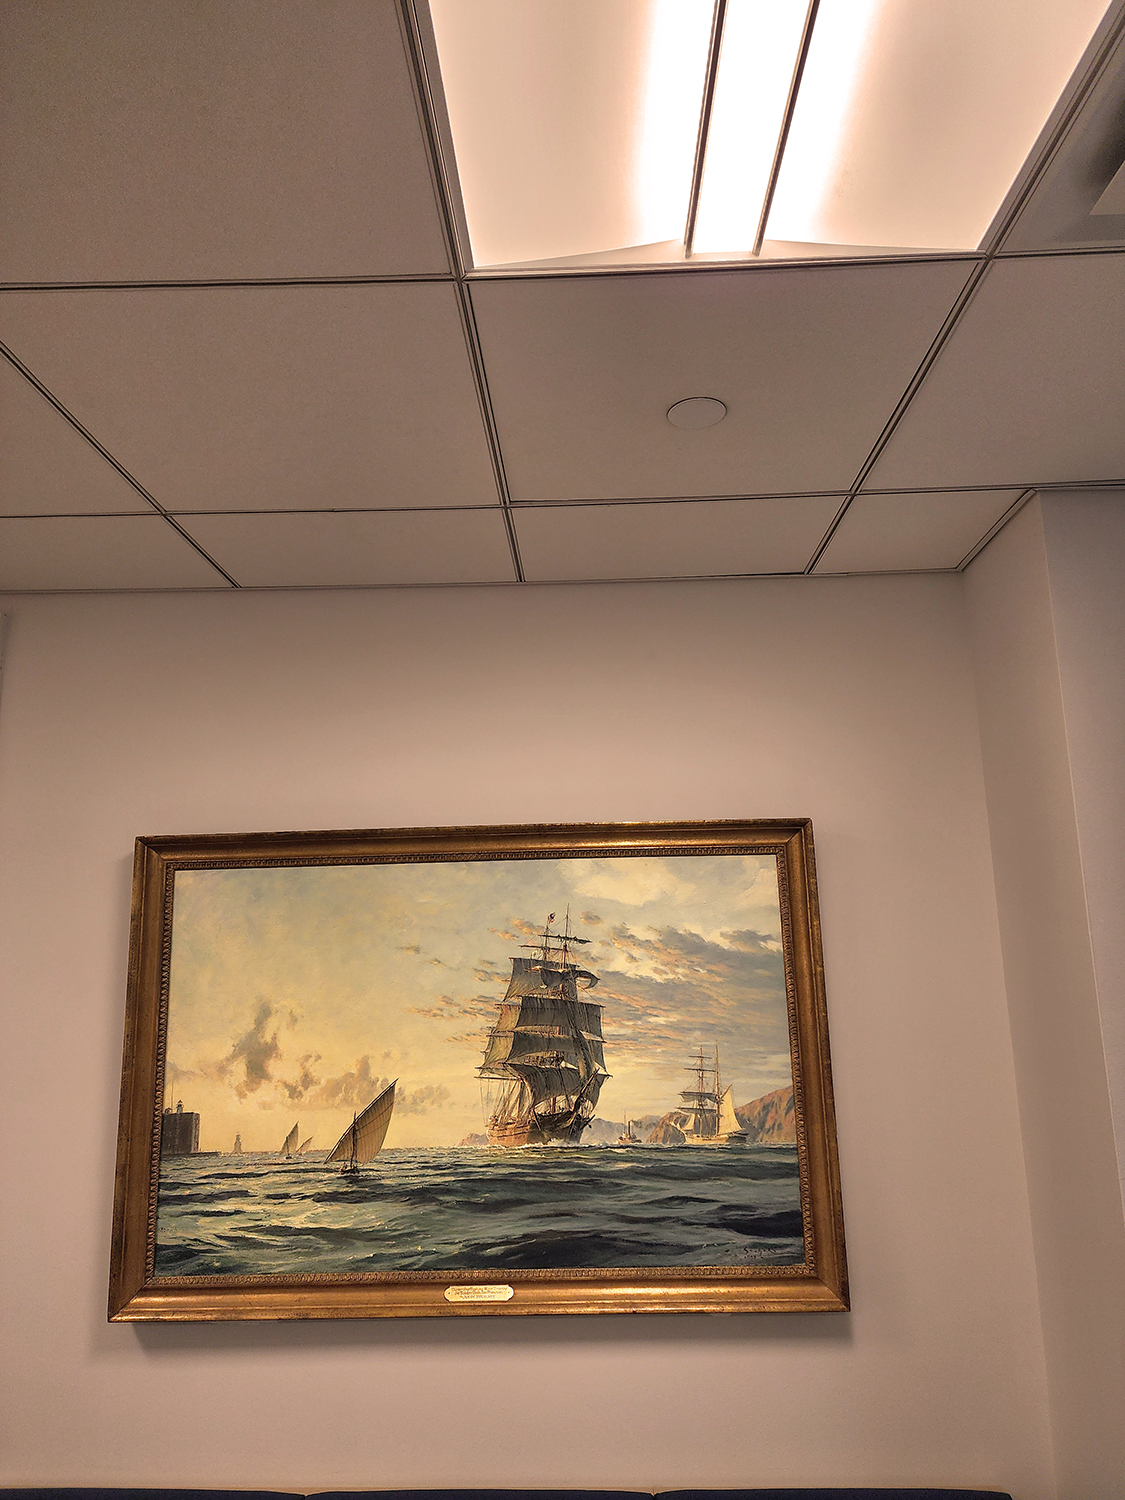
So, you may be wondering, what is the best way to light a work of art?
Natural light (sunlight) that filters into a room is, of course, the easiest. It is important to keep in mind that you do not want to put a work of art (especially those on paper) in direct sunlight – it can cause the colors to fade and paper to yellow (we have all seen what can happen to furniture, carpet, etc. that is consistently in direct sunlight). So, if you cannot light a work in any other way, then make sure they are out of the sun’s rays. Also, while sunlight is an inexpensive way to light your artwork, when there is no sunlight, your artwork is going to be very dark. If you decide to go this route, you may want to keep a few flashlights around so that in the evening or on a rainy day, you can still enjoy your prized possessions!!
Room light
General room lighting is also a pretty easy way to go. While this method will not highlight any specific work, it will give the room even lighting and is a little safer than the natural lighting choice – though you may still need a flashlight or two!
If natural or general room lighting just will not do it, then you have a few additional options:
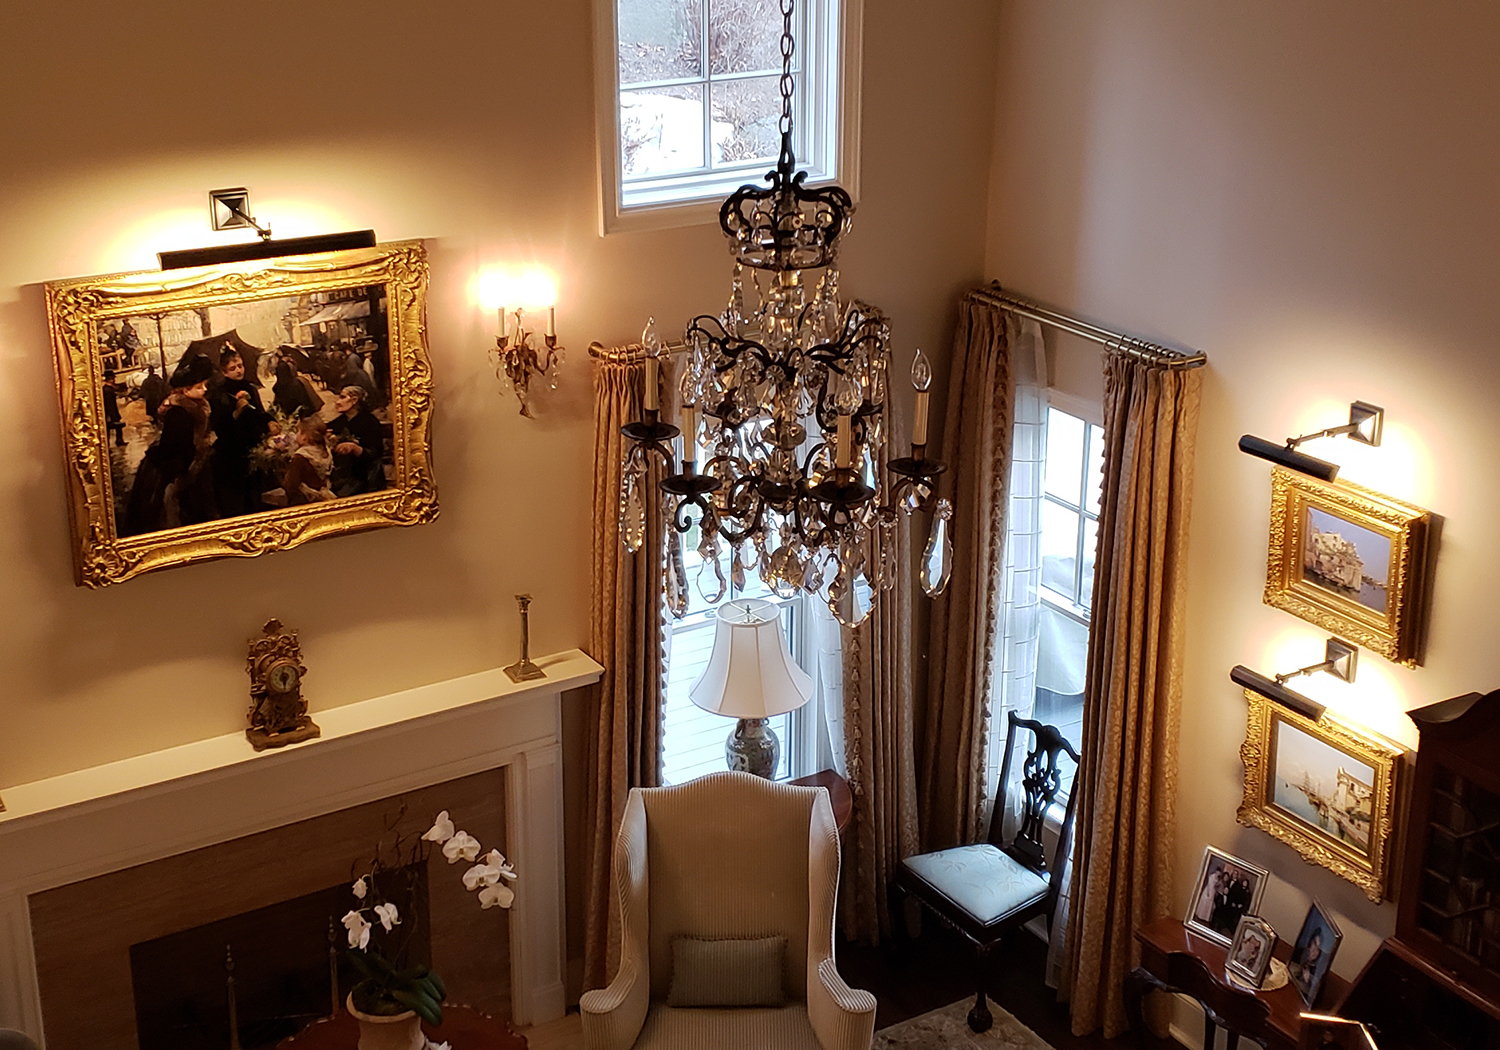
Picture lights
Picture lights – a fixture that is usually attached to the back of the frame (or sometimes the wall) and hangs over the front of the painting. While these fixtures are available with incandescent, halogen and LED bulbs, you will achieve the best results from the LED versions. If you decide to use one of these fixtures, be sure they are securely fastened to the frame or wall; should they become loose, they can fall forward and cause damage to the frame and painting. There are also picture lights that can be placed below a work of art and shine up — a great alternative for areas where you can hide the fixture – either behind a piece of furniture or on a mantle. If you decide on the ‘picture light’ option, please keep in mind that the fixtures will need to be plugged into an outlet and if one has not been installed specifically for these fixtures (behind the work) you may see the electrical cords – not the prettiest of sights; though there are always creative ways to camouflage them.
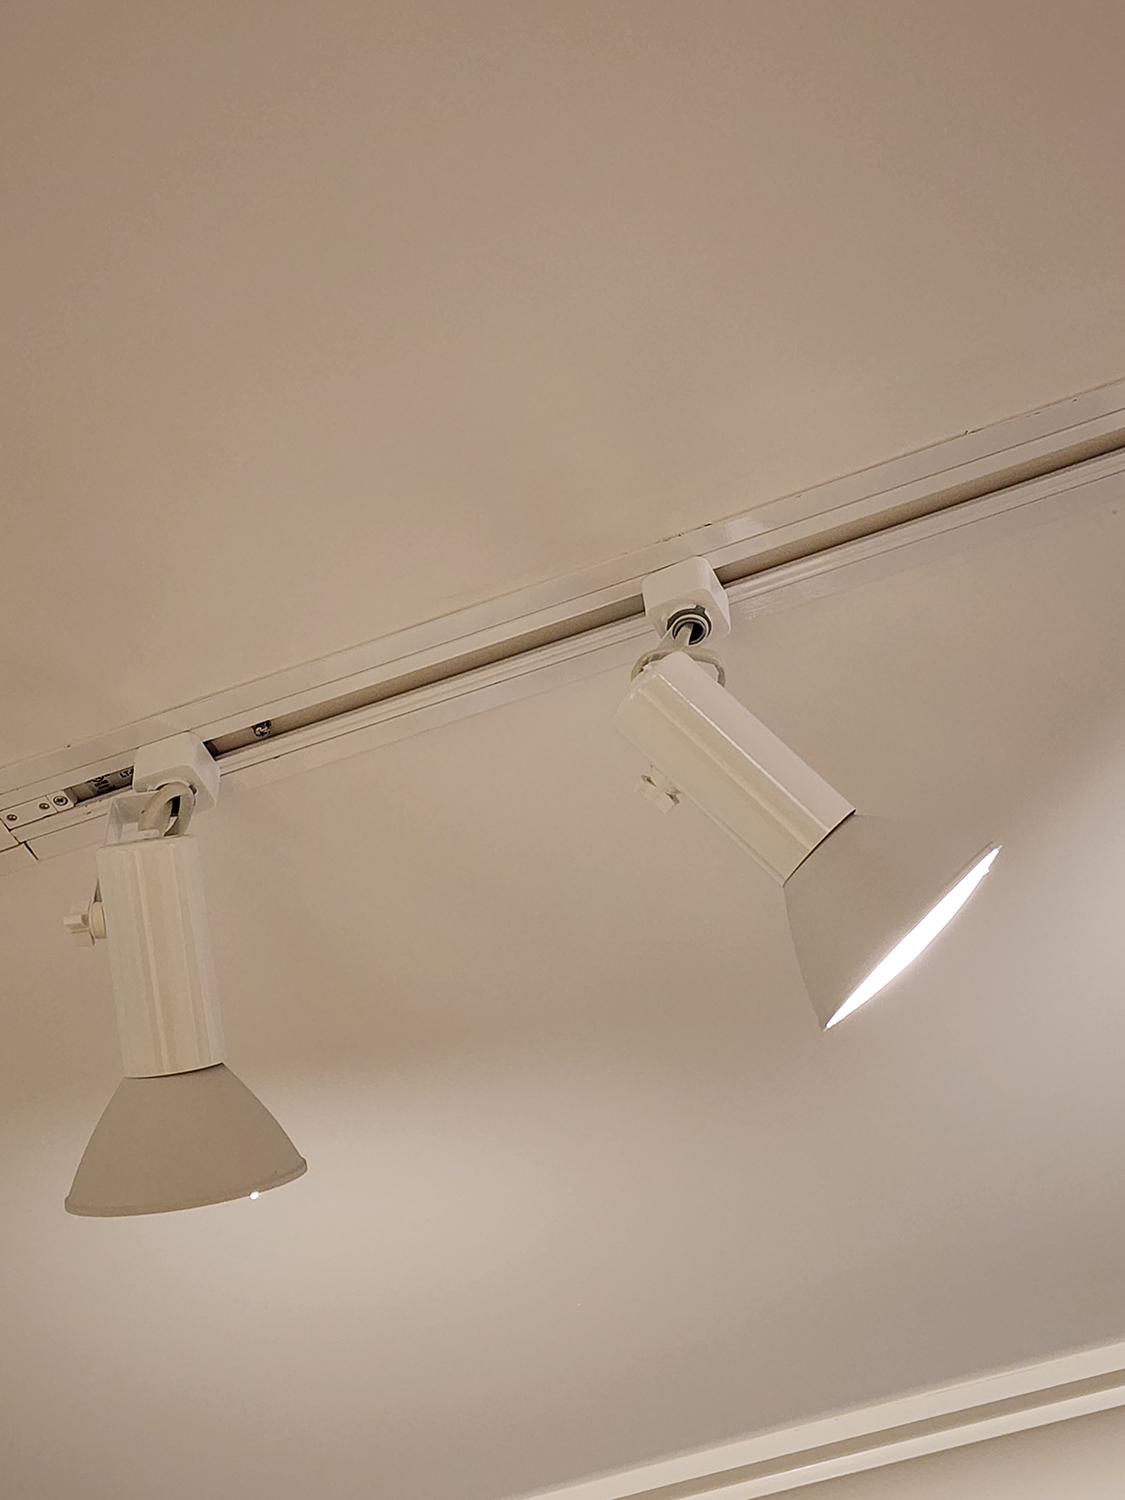
Track Lighting
Track lighting – often found in more contemporary homes and in many art galleries since it provides great flexibility. Here, the fixtures are placed on a track that has been mounted to, or inset into, the ceiling. If you decide to use halogen bulbs, the fixtures should be far enough from the works of art so that the heat generated by the blubs will have little effect on them. However, to achieve the best results, LED bulbs should be used; but make sure you check with your lighting specialist to determine the maximum wattage that can be placed in each fixture. The only drawback with track lighting is that you will see the entire fixture … but today they do make some very small and attractive ones. This is the option we use in our gallery.
Recessed lighting – in my opinion, this is the best option for home use. Here the fixtures and, for the most part, bulbs are hidden in the ceiling, creating a very clean look. The only drawback is that you do not have the flexibility of moving the actual fixtures around – which you do with track lighting. So, before you start drilling holes in the ceiling, plan out where each work is going to hang and then arrange the location of the fixtures so the works will be properly lit.
Keep in mind that the one nice thing about these last two options is that all the fixtures/tracks are powered through wiring that is hidden in the ceilings and walls – no power cords hanging down from the bottom of your artwork.
After you have determined the type of lighting you are going to use you now have to decide how much lighting is needed and where the fixtures will be placed. If you decide to use options 1, 2, or 3 then there really isn’t much you need to be concerned with. If you are going to use options 4 or 5, you will need to know the approximate size of the works you plan on hanging in each space and where each work will be viewed from.
Once you have all the basics information, I suggest you enlist the help of a lighting specialist who will be able to configure the optimal lighting solution. Always remember that it is better to err on the side of a little too much light, or should I say too many fixtures – especially when using the recessed option. You can always reduce the wattage of each bulb if you feel there is too much light; it is much more difficult, and messy, to add another fixture once they are installed and evenly spaced.
I also recommend, for those of you who are currently involved in new construction, to plan ahead. It is much easier and cheaper to add a few specialty lights into a room while the ceilings and walls are still open — not to mention a lot neater. You may also want to do some research into all the lighting systems that are currently available. These systems not only give you the ability to adjust each fixture or track but also will increase the life of the bulbs – sometimes as much as ten-fold. When we designed our 57th Street gallery, our architect convinced us to use a Lutron system and while it was an expensive addition, we are very happy we did it. In our new space on 55th Street, we installed a Leviton system, which also works really well.
Another thing to keep in mind is that it is nice, when possible, to have the picture lights on a separate dimmer switch for additional flexibility. Sometimes it is nice to be able to sit in a room with only the artwork illuminated – if you have the ability and have never tried it, please do. I believe you will find that sitting in a room with a nice glass of wine (or a soda), listening to your favorite music and enjoying your artwork – is a very relaxing and pleasurable experience. Let’s face it, hopefully, that is the main reason why you bought it … to enjoy it!
In the end, like most things, lighting is really a personal preference and you need to determine what is right for you, your room, and your lifestyle.